
Windows XP Initial setup screens
During the instructions you will see the following symbols < > [ ] and { } Here is what they indicate
-
< > - Indicates what needs to be typed in. Do not type the < and the >. Just the text inside them
-
[ ] - Indicates a key on the keyboard to be pressed
-
{ } - Indicates a button on the screen to click on.
-
Set the system to boot to the CD
-
Put your Windows CD in the drive
-
Reboot the computer
-
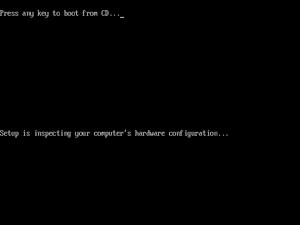
If you see the message "Press any key" Press the [space bar] (you have to hit it quick or you will miss it. You may not see it if the partition is not there or corrupted)
 |
-
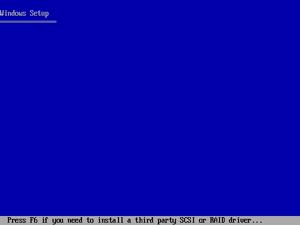
The Windows Setup screen appears
-
You will see a blue DOS looking window with information going by at the bottom
-
You will see the following information
-
Press F6 if you need to install a third party SCSI or RAID driver - If you are installing RAID you will need to press F6 and install the driver (if not skip this step)
-
Press F2 to initiate the Automated System Recovery (ASR) tool - ignore this
-
 |
-
Press the [Enter] key to setup Windows. If the Enter key doesn't work, here is the fix
-
You will get an option to repair Windows. Press the [ESC] key
 |
-
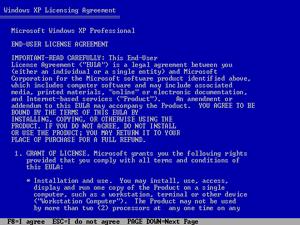
The Windows XP Licensing Agreement screen appears
-
Press the [F8] key to accept the license agreement
 |
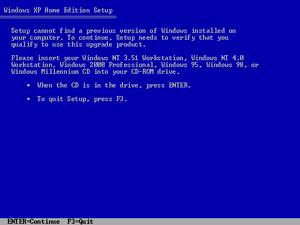
Upgrade install to Windows XP from an earlier version
The next step only applies to those that are using an upgrade CD to upgrade from an earlier version of Windows (if you are not using an upgrade CD, skip this step and go to Partition Creation)
-
Put the Previous Windows CD in the Drive and Press [Enter] (When done, put the Windows XP CD back in
 |